|
Hoops
It is recommended that the
Brazilian Dimensional Embroidery be worked with the fabric held snug/taut in
a hoop.
· The 3” or 4” hoop is recommended for the beginner.
· Can you reach from the edge of the hoop to the center with your
fingers?
© I
recommend the Susan Bates hoops. The
"Super-Grip-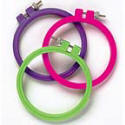 Lip"
is designed to maintain a consistent tension without distorting or snagging
your fabric or threads. See below for using the screw type hoops. Lip"
is designed to maintain a consistent tension without distorting or snagging
your fabric or threads. See below for using the screw type hoops.
©
Adjusting by tightening a thumbscrew keeps the stitching from becoming
damaged when moving the hoop because you can unscrew the hoop and make it
larger before moving it to the next stitching area.
© I
do not recommend the “Spring Hoop” for a beginner, because it is too easy to
get your working thread wrapped around the “squeezer” bars.
© Do
not pull or tug on your fabric unnecessarily, you may disturb the weave of
the fabric. Snug, not tight!
© Take
your unfinished design out of the hoop when not working on it.
©It
is suggest using a hoop for all of your stitching. Especially when
stitching any flower that has long stitches on the surface of the design.
© The
hoop helps to keep the fabric from puckering.
©Take
your fabric out of your hoop EACH time that you are done stitching.
Putting
Fabric Into The Hoop
Make sure that your
fabric is “square with the world” before putting it into a hoop.
Q-snaps hoops will distort the warp
(lengthwise threads) and weft
(widthwise threads) if the fabric is forced into the hoop off kilter. The
fabric stretches if put into the hoop on the diagonal.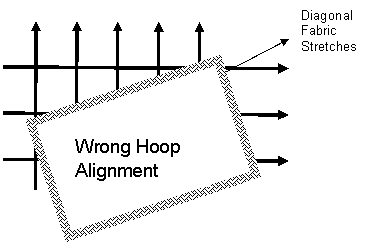
How to put design
into hoop (Susan Bates or other screw tightening styles):
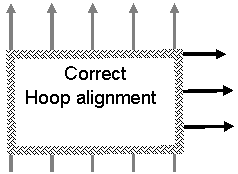 1.
Place your fabric over
the inner hoop, which is the
smaller hoop of the two. 1.
Place your fabric over
the inner hoop, which is the
smaller hoop of the two.
2.
The hoop with the tightening screw is on the outer ring.
3.
Unscrew the tension screw as far as possible without having the
tension screw coming off the hoop.
4.
With the tension screw at the top, ease the outer ring down over the
inner ring, gently adjusting the fabric so that it is taut and wrinkle-free.
5.
When the fabric adjusted, tighten the screw.
6.
Do not pull extremely hard on your fabric to get it into your hoop.
7.
Adjust your hoop carefully before tightening the hoop.
8.
With the Susan Bates’ hoop – there is a lip of the inner hoop.
That lip goes upwards.
Fabric goes over lip side,
then the outer hoop slips over the fabric.
The “lip” pops up above the
outer hoop.
This makes it easier to
stitch because your fabric is raised a bit.
When using a hoop, always remove the
stitching from the hoop when you have finished your session.
This helps to prevent the hoop marking the fabric.
I recommend that the embroidery be worked
with the fabric held taut in a hoop. Why? When stitching blanket stitches,
bullions or most any of the B.E. stitches-especially the “A-B-A” set up
stitches, the fabric needs to be kept flat or the stitches/threads will
cause your fabric to pucker.
After you have completed your stitching,
sometimes slight puckering can be “stretched out”. Keeping your fabric taunt
in a hoop is the best way to keep the stitches from causing puckering.
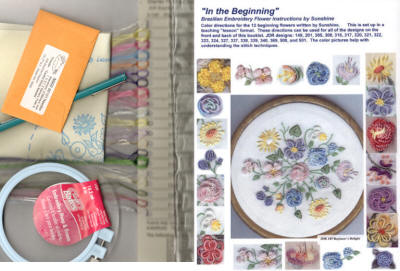
Brazilian Embroidery Starter Package
|

